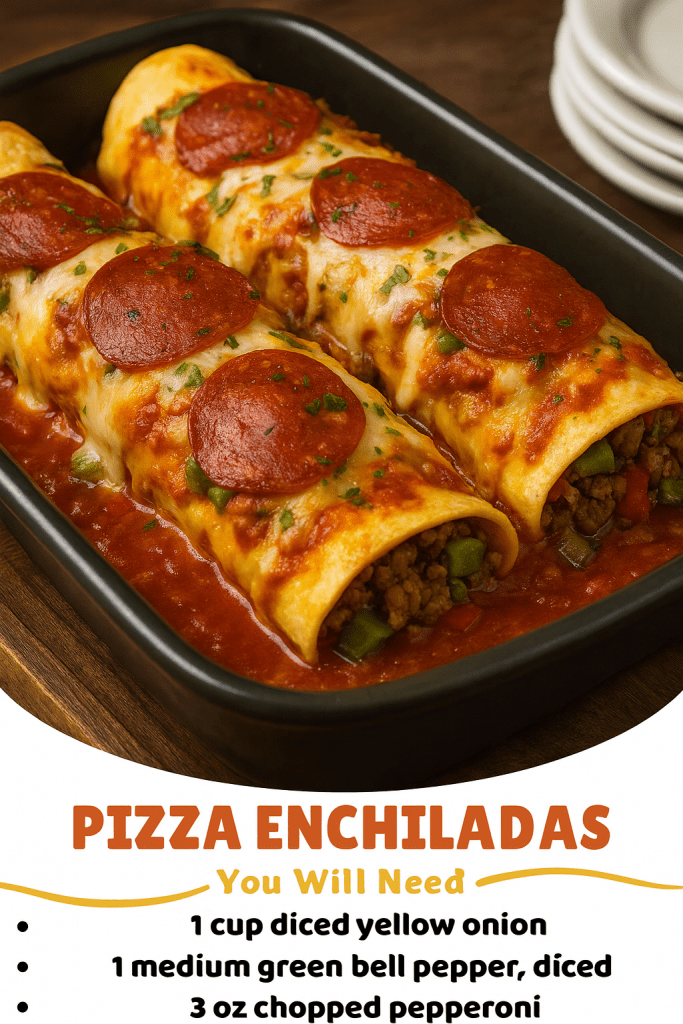
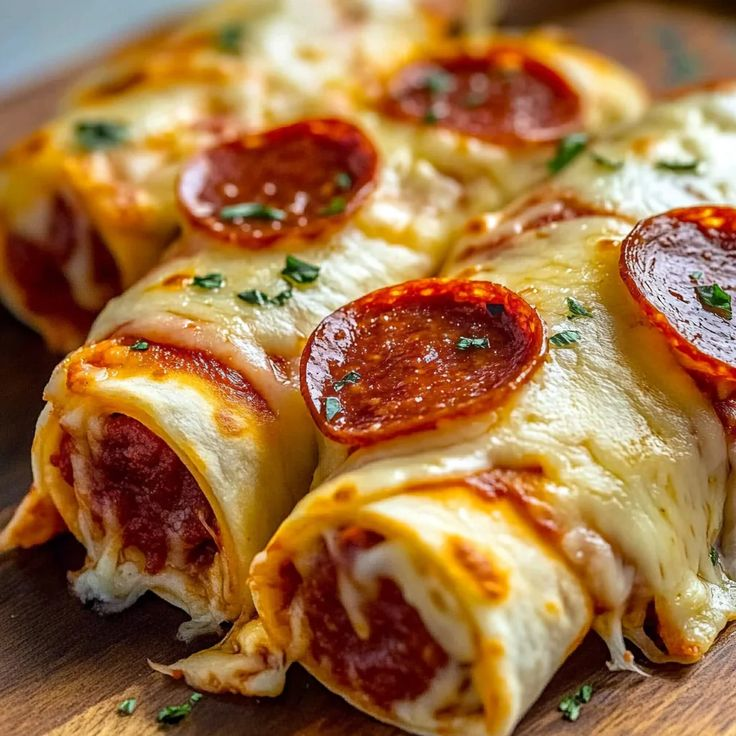
Imagine the joy of pizza night combined with the cozy comfort of enchiladas. These pizza enchiladas with ground beef are a weeknight game-changer, blending bold Italian flavors with the satisfying structure of a Tex-Mex classic. Each bite delivers a warm, cheesy hug—savory ground beef, smoky pepperoni, creamy ricotta, and gooey mozzarella, all wrapped in soft flour tortillas and baked under a blanket of rich pizza sauce. Topped with crispy bacon and pepperoni slices, this dish is a crowd-pleaser that brings smiles to the dinner table. Perfect for busy families, picky eaters, or anyone craving a fun twist on familiar flavors, this recipe is designed to keep you coming back for seconds. Ready to dive into a dish that’s as easy to make as it is delicious? Let’s get cooking!
Why Pizza Enchiladas Will Steal Your Heart ❤️
This recipe is more than just a meal—it’s a memory-maker. Picture your family gathered around the table, the aroma of melted cheese and Italian herbs filling the air. Kids giggle as they sneak extra pepperoni, and even the pickiest eaters dig in with enthusiasm. Here’s why you’ll fall in love with pizza enchiladas:
✨ Classic Pizza Vibes in a New Form: Every bite bursts with the flavors you adore—tangy pizza sauce, stretchy mozzarella, and zesty pepperoni—wrapped in a soft tortilla for a fun, shareable twist.
✨ Quick and Stress-Free: With common pantry staples and a prep time of just 20 minutes, this dish saves the day on hectic evenings.
✨ Perfect for Meal Prep: Make a big batch, and enjoy leftovers that taste just as good the next day.
✨ Customizable Fun: Swap in your favorite veggies or meats to make it your own, ensuring everyone at the table is happy.
I still remember the first time I served these enchiladas after a long day. My kids’ eyes lit up at the sight of bubbly cheese and crispy bacon, and the leftovers? Gone by lunchtime the next day. This dish has become our go-to for pizza nights with a twist, and I’m excited to share it with you.
Ingredients You’ll Need 🛒
The beauty of this recipe lies in its simplicity. You likely have most of these ingredients in your kitchen already, and the rest are easy to find. Here’s what you’ll need to create eight mouthwatering enchiladas:
For the Filling
- 1 lb lean ground beef: Opt for lean beef to keep the filling rich but not greasy. It’s the hearty backbone of this dish.
- 1 cup diced yellow onion: Adds a subtle sweetness that balances the bold flavors. Choose firm onions for the best texture.
- 1 medium green bell pepper, diced: Brings a fresh, slightly crunchy bite. Look for vibrant, glossy peppers.
- 3 oz pepperoni, chopped: Infuses that classic pizza flavor with a smoky kick. Chop finely for even distribution.
- 1 tablespoon chopped garlic: Fresh garlic cloves add a bright, aromatic depth. Avoid pre-chopped for maximum flavor.
- 1/3 cup pizza sauce: Ties the filling together with tangy tomato goodness. Pick a brand you love.
- 1 tablespoon Italian seasoning: A blend of herbs like oregano and basil for that authentic pizza taste.
- 1 cup ricotta cheese: Creates a creamy, luxurious texture in the filling. Check for smoothness to avoid graininess.
- 1 cup shredded mozzarella cheese: Melts beautifully into the filling, adding stretchy goodness. Shred your own for the best results.
- 1/3 cup crumbled bacon: Adds a smoky, crispy contrast. Cook until crisp and drain well.
- 8 large flour tortillas: The soft, rollable base. Choose 10-inch tortillas for easy assembly.

For the Topping
- 2 cups pizza sauce: Smothers the enchiladas in saucy goodness. Spread it generously.
- 2 1/2 cups shredded mozzarella cheese: Creates a golden, bubbly crust. Whole-milk mozzarella melts best.
- 3 oz pepperoni slices: Adds visual appeal and extra flavor on top.
- 1/4 cup crumbled bacon: Sprinkles smoky crunch over the finished dish.
Step-by-Step Instructions: Your Path to Cheesy Bliss 🍴
Making pizza enchiladas is as fun as eating them. Follow these simple steps to create a dish that looks as good as it tastes. Preheat your oven to 375°F, and let’s get started.
1. Brown the Beef
Place a large skillet over medium-high heat and add the lean ground beef. Break it apart with a wooden spoon as it cooks, letting it brown fully. This step builds a deep, savory flavor as the beef crisps slightly. Drain any excess fat to keep the filling light.
2. Build the Aromatics
Add the diced onions, green bell peppers, and chopped pepperoni to the skillet. Stir well and cook for 5-7 minutes until the vegetables soften and the pepperoni releases its flavorful oils. The kitchen will start to smell amazing as the ingredients meld together.
3. Add the Garlic
Stir in the chopped garlic and cook for 2 minutes. Keep the heat gentle to avoid burning the garlic, which can turn bitter. The garlic’s aroma will brighten the filling, tying all the flavors together.
4. Mix the Filling
Remove the skillet from the heat. Stir in 1/3 cup pizza sauce, Italian seasoning, ricotta cheese, 1 cup shredded mozzarella, and 1/3 cup crumbled bacon. Mix until everything is evenly combined, creating a creamy, flavorful filling. Taste and adjust seasoning if needed.
5. Fill the Tortillas
Lay the flour tortillas on a clean work surface. Scoop about 1/2 cup of the beef mixture down the center of each tortilla. Be careful not to overfill, as this makes rolling tricky. Fold one side over the filling, tuck in the edges, and roll tightly to seal.
6. Prepare for Baking
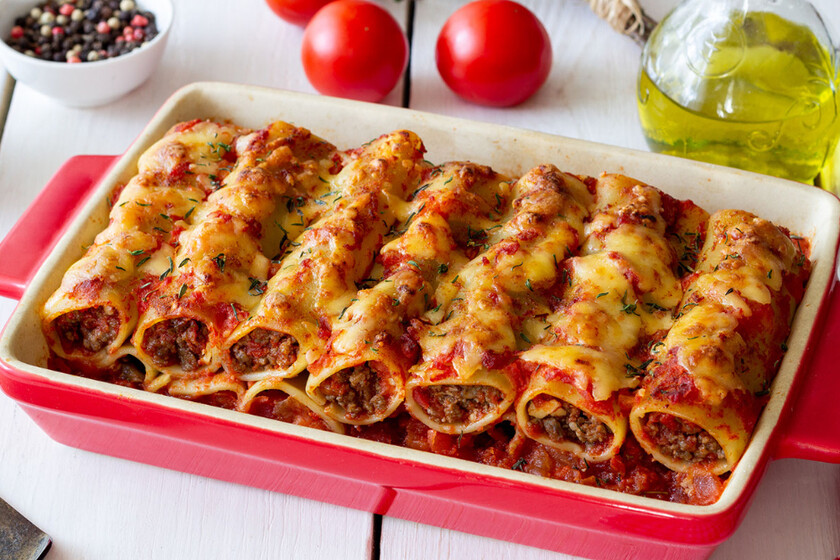
Lightly coat a 9×13-inch baking dish with cooking spray to prevent sticking. Arrange the filled tortillas seam-side down in the dish, ensuring they stay tightly rolled during baking.
7. Top and Finish Assembly
Pour 2 cups of pizza sauce evenly over the tortillas, covering them completely for maximum flavor. Sprinkle 2 1/2 cups shredded mozzarella over the top, then arrange pepperoni slices and scatter 1/4 cup crumbled bacon for a picture-perfect finish.
8. Bake to Perfection
Place the baking dish in the preheated oven and bake for 20-25 minutes, until the cheese is melted, bubbly, and just starting to brown around the edges. For an extra golden crust, broil for 1-2 minutes at the end, watching closely to avoid burning.
9. Serve and Enjoy
Let the enchiladas cool for 5 minutes before serving. This helps the cheese set, making it easier to cut clean slices. Serve warm, and watch your family dive in with delight.
Pro Tips for Pizza Enchilada Perfection 🌟
Want to take your enchiladas to the next level? These insider tips will ensure your dish is a hit every time:
- Crisp the Bacon: Pre-cook bacon until crispy and drain well to avoid a greasy filling.
- Warm the Tortillas: Slightly warm tortillas in the microwave for 10-15 seconds to make them pliable and prevent cracking.
- Don’t Skip the Broil: A quick broil at the end gives the cheese that irresistible golden-brown bubble.
- Taste the Sauce: Not all pizza sauces are equal. Sample a few brands to find one with the perfect balance of tangy and savory.
- Get Creative: Add a pinch of red pepper flakes to the filling for a spicy kick, or toss in diced mushrooms for extra texture.
Why This Recipe Keeps You Coming Back 🔄
Pizza enchiladas aren’t just a meal—they’re an experience. The combination of familiar pizza flavors and the comforting structure of enchiladas creates a dish that feels both nostalgic and excitingly new. Each tortilla is a flavor bomb, packed with savory beef, creamy ricotta, and crispy pepperoni, all hugged by a blanket of melted cheese. The bacon and pepperoni toppings add a satisfying crunch, while the pizza sauce keeps every bite saucy and vibrant.
This recipe is designed to fit into your life. It’s quick enough for a Wednesday night but special enough for a weekend gathering. The leftovers, if you have any, reheat beautifully, making lunch the next day something to look forward to. Plus, the customizable nature of the dish means you can tweak it to suit your family’s tastes, whether that’s adding jalapeños for heat or swapping beef for ground turkey.
Storage and Reheating Tips 🥡
Pizza enchiladas are a gift that keeps on giving. Here’s how to store and reheat them to maintain their deliciousness:
- Refrigerate: Store leftovers in an airtight container in the fridge for up to 3 days.
- Reheat: Warm in a 350°F oven for 10-15 minutes to restore the crispy edges. An air fryer works too, at 325°F for 5-7 minutes. Microwaving is fine in a pinch, but it may soften the texture.
- Freeze: Wrap individual enchiladas tightly in plastic wrap and foil, then freeze for up to 2 months. Reheat from frozen in a 375°F oven, adding extra pizza sauce if needed to prevent dryness.
Ingredient Substitutions and Variations 🌈
One of the best things about pizza enchiladas is how flexible they are. Here are some swaps to make the recipe your own:
- Meat: Replace ground beef with ground turkey, chicken, or Italian sausage for a different flavor profile. For a vegetarian version, try lentils or crumbled tempeh.
- Veggies: Swap green bell peppers for mushrooms, zucchini, or spinach to add variety.
- Cheese: Mix mozzarella with provolone or Monterey Jack for a unique melt. Cottage cheese can stand in for ricotta if needed.
- Spice It Up: Add diced jalapeños or a sprinkle of chili flakes for a fiery twist.
- Tortillas: Corn tortillas can work for a gluten-free option, though they’re smaller and may require more to use up the filling.
Serving Suggestions to Round Out the Meal 🥗
Pizza enchiladas are a star on their own, but pairing them with the right sides elevates the experience. Here are some ideas to complete your dinner:
- Crisp Green Salad: A simple salad with romaine, cherry tomatoes, and a balsamic vinaigrette cuts through the richness.
- Garlic Bread: Warm, buttery garlic bread is perfect for sopping up extra sauce.
- Roasted Veggies: Serve with roasted broccoli or asparagus for a nutritious balance.
- Party Platter: Slice the enchiladas into smaller pieces and serve as an appetizer at your next gathering.
A Dish with Heart and History 💭
Pizza enchiladas are a celebration of culinary creativity, blending the bold flavors of Italian-American pizza with the comforting format of Tex-Mex enchiladas. This fusion reflects the spirit of home cooks who love to experiment, turning familiar ingredients into something fresh and exciting. It’s the kind of dish that becomes a family tradition, passed down with stories of laughter-filled dinners and sneaky extra bites of pepperoni. Whether you’re making it for a quiet night in or a lively gathering, this recipe brings people together in the best way.
Frequently Asked Questions ❓
What tortillas work best for pizza enchiladas?
Large flour tortillas (10-inch) are ideal for their soft texture and ability to hold the hearty filling.
Can I use ground turkey instead of beef?
Absolutely! Ground turkey or chicken works beautifully and keeps the dish light.
How do I prevent soggy enchiladas?
Drain excess liquid from the filling and ensure the pizza sauce isn’t too watery. Bake until the cheese is bubbly and golden.
What toppings can I add for extra flavor?
Try sliced black olives, fresh basil, or a sprinkle of Parmesan after baking for a fresh finish.
Are leftovers good the next day?
Yes! Reheat in the oven for the best texture, and they’ll taste just as delicious.

Pizza Enchiladas Recipe: Ready to Make It Yours? 🍽️
With a prep time of 20 minutes and a cook time of 25 minutes, these pizza enchiladas are your ticket to a stress-free, flavor-packed dinner. They yield 8 servings, perfect for a family of four with leftovers or a larger gathering. Whether you’re a seasoned cook or a kitchen newbie, this recipe is approachable and rewarding. So grab your skillet, preheat your oven, and let’s create a dish that’ll have everyone asking for seconds. Happy cooking!
Prep Time: 20 minutes
Cook Time: 25 minutes
Total Time: 45 minutes
Servings: 8 enchiladas
Skill Level: Moderate
Cuisine: Italian-American Fusion
Required Tools
- Large skillet
- 9×13-inch baking dish
- Cooking spray
Nutritional Note
Nutritional details vary based on ingredients used. For precise information, consult a nutritionist or use a recipe calculator.


