Imagine the moment: a table full of friends, laughter filling the air, and a plate of golden, crispy onion rings that promise something extraordinary. One bite, and the surprise of molten mozzarella oozes out, transforming a classic snack into a conversation starter. These Cheesy Onion Rings aren’t just food—they’re an experience, a delightful twist that turns casual gatherings into unforgettable moments. Born from a last-minute idea for a poker night, this recipe has become a crowd-pleaser that’s as fun to make as it is to eat. Ready to elevate your appetizer game? Let’s dive into this indulgent, cheesy adventure that’s guaranteed to leave everyone asking for more.
Why These Onion Rings Are Irresistible
🌟 A Surprise in Every Bite
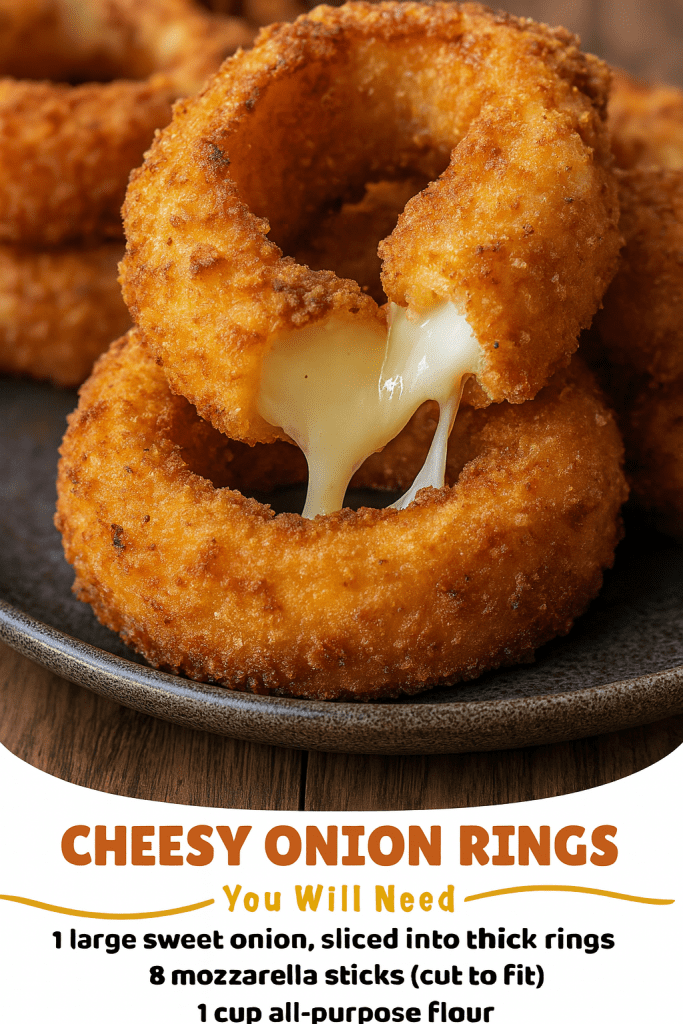
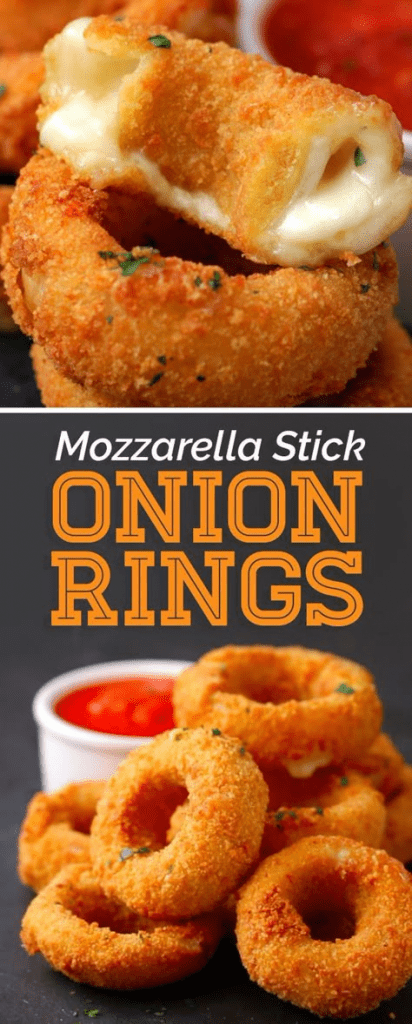
Nobody expects a gooey cheese center inside a crispy onion ring. The look of delight on your guests’ faces when they discover the cheesy secret is worth every second of prep. It’s not just an onion ring—it’s a mini celebration in every bite.
🍴 More Than Just a Side
Unlike regular onion rings, these are a substantial appetizer that feels indulgent and satisfying. The combination of sweet onions, melty mozzarella, and a crunchy coating makes them the star of any spread, whether it’s game day or a backyard barbecue.
💬 A Recipe That Sparks Joy
These rings don’t just taste amazing—they get people talking. From “How did you make these?” to “Can I have the recipe?”, they’re a guaranteed icebreaker. Your friends will be swapping stories and begging for seconds before the night is over.
I’ll never forget the first time I served these at a neighborhood cookout. My neighbor Mike, who’s notorious for being picky, grabbed one, took a bite, and froze. “Cheese? In an onion ring? Genius!” he said, reaching for another. By the end of the night, he’d eaten four and was still raving about them. That’s the kind of reaction these onion rings inspire.
What You’ll Need for Cheesy Onion Rings
To create this appetizer masterpiece, you’ll need simple ingredients that come together to make something extraordinary. Here’s what to gather:
🥄 1 Large Sweet Onion
Choose a big onion with wide rings that can hold the cheese without breaking. Sweet varieties like Vidalia work best for their mild flavor.
🧀 8 Mozzarella Cheese Sticks
String cheese is perfect—it’s pre-portioned, easy to cut, and melts beautifully. You can experiment with other cheeses later, but mozzarella is the classic choice.
🍶 1 Cup All-Purpose Flour
This forms the base of your coating, helping everything stick to the onion.
🥚 1 Egg + 1 Cup Milk
These create a smooth batter that binds the flour and breadcrumbs for maximum crunch.
🍞 1 Cup Panko Breadcrumbs
Panko gives that light, restaurant-style crispiness that makes every bite addictive.
🧂 1 Teaspoon Baking Powder + 1 Teaspoon Fine Salt
These add structure to the coating, ensuring it stays crunchy even after frying.
📌 Toothpicks
These are your secret weapon for keeping the cheese securely tucked inside during frying.
🔥 2 Cups Cooking Oil
Use a neutral oil like vegetable or canola for deep frying. You’ll need enough to fully submerge the rings.
With these ingredients, you’re ready to create a snack that’s as fun to assemble as it is to eat.
Step-by-Step Guide to Cheesy Onion Rings
This recipe is all about layering flavors and textures, but don’t worry—it’s easier than it looks. Follow these steps, and you’ll have a plate of cheesy perfection in no time.
1. Prep the Onions
Slice your onion into thick, half-inch rounds and gently separate the rings. You’ll need pairs of rings: one larger and one smaller that fits inside with a gap between them. This gap is where the magic happens—the cheese! Set your pairs aside and keep the smaller rings for another recipe (like a salad or stir-fry).
2. Build the Cheese Sandwich
Take your mozzarella sticks and slice them to fit snugly in the space between each onion ring pair. Place the cheese in the gap, then secure everything with a toothpick, piercing through the inner ring, cheese, and outer ring. This step feels like a craft project, but it’s what makes these rings so special. Be patient—it’s worth it.
3. Create the First Coating
In a bowl, mix the flour, baking powder, and salt. Dredge each assembled onion ring in this dry mixture, coating it thoroughly. Place the rings on a wire rack to rest for a minute. This helps the flour stick, creating a strong base for the next layers.
4. Make the Batter
In another bowl, whisk together the milk and beaten egg. Pour this into the remaining flour mixture and stir until you have a smooth, thick batter. It should coat the rings without being too heavy—think pancake batter consistency.
5. Add the Final Crunch
Dip each floured ring into the batter, letting the excess drip off. Then, roll it in panko breadcrumbs, pressing gently to make sure they stick. This triple-layer coating—flour, batter, panko—is the key to that irresistible crunch. Place the coated rings back on the wire rack while you heat the oil.
6. Fry to Golden Perfection
Heat your oil to 350°F in a deep pot. If you don’t have a thermometer, drop a small bit of batter into the oil—it should sizzle and float right away. Carefully add a few rings at a time, making sure not to crowd the pot. Fry for about 2-3 minutes per side, until golden brown and crispy. The cheese will be perfectly melted inside. Use a slotted spoon to transfer the rings to a paper towel-lined plate.
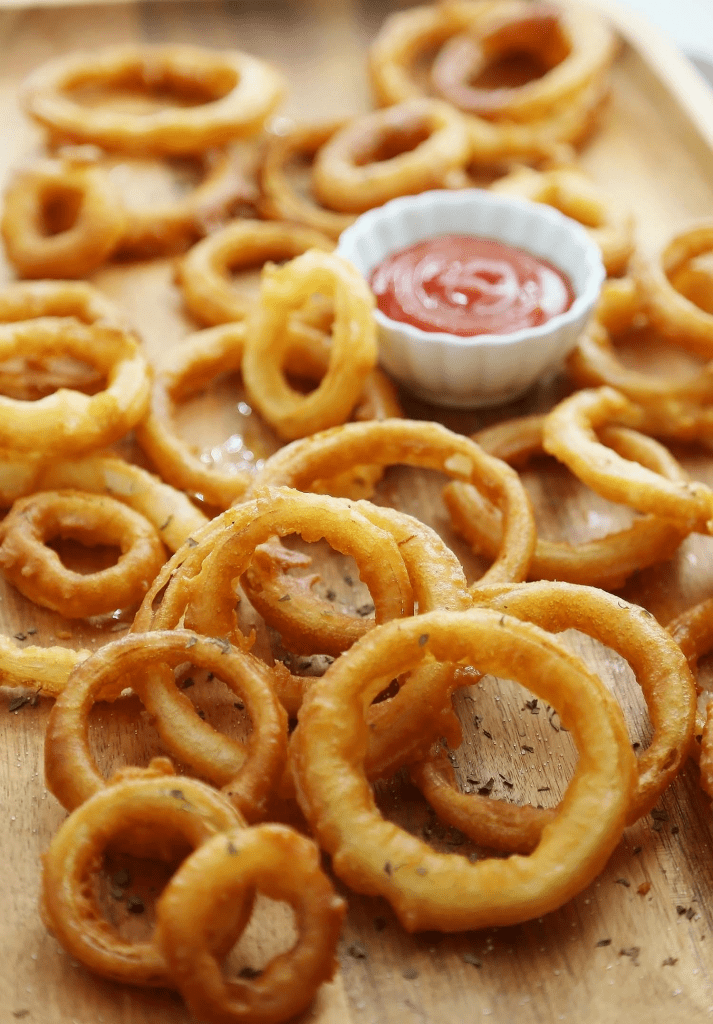
7. Serve and Wow
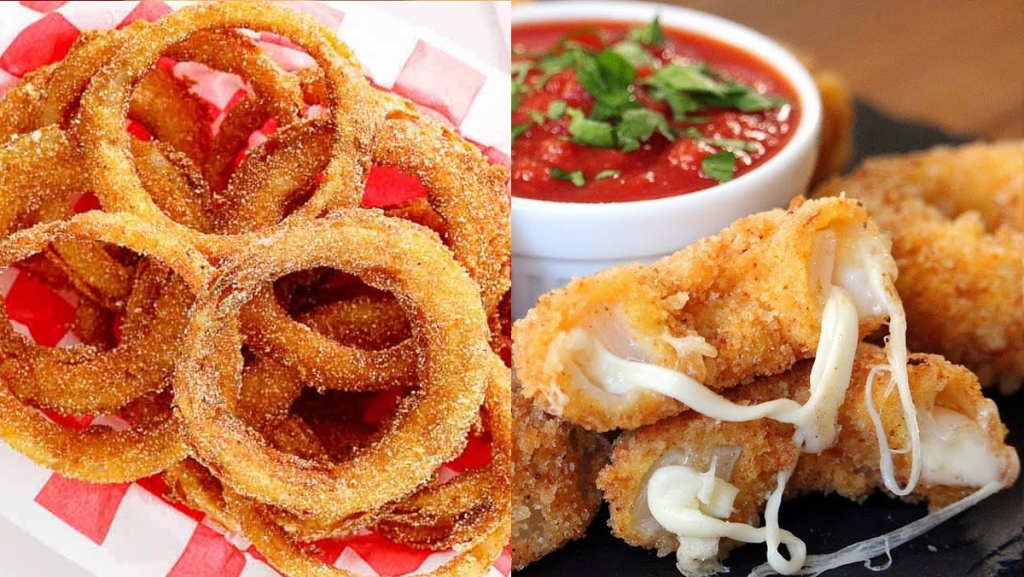
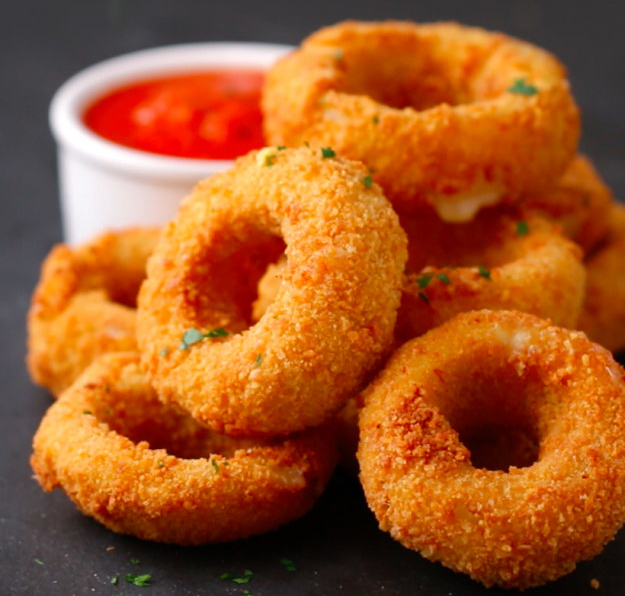
Remove the toothpicks just before serving (not during frying, or the cheese might escape!). Pair these beauties with marinara sauce for a classic combo or ranch dressing for a creamy twist. Serve them hot, while the cheese is gooey and the coating is crisp. Watch your guests’ eyes light up with every bite.
Pro Tips for Perfect Onion Rings
🔥 Nail the Oil Temperature
Too hot, and the outside burns before the cheese melts. Too cool, and the rings turn greasy. A thermometer is your best friend here—keep it at 350°F for consistent results.
📌 Keep Those Toothpicks In
I learned this the hard way: removing toothpicks before frying can lead to a cheesy oil disaster. Leave them in until the rings are out of the oil and ready to serve.

🍴 Work in Small Batches
Frying too many rings at once lowers the oil temperature, resulting in soggy coatings. Give each ring space to shine.
🧼 Clean Up Smart
Frying can be messy, but a wire rack helps excess batter drip off cleanly. Line your counter with parchment paper for easy cleanup.
These tips will make your onion rings look and taste like they came from a gourmet kitchen.
Why These Rings Are a Must-Try
There’s something magical about biting into a crispy onion ring and finding a warm, stretchy cheese center. It’s comfort food with a twist, familiar yet exciting. Whether you’re hosting a Super Bowl party, a casual dinner, or just craving something indulgent, these rings deliver. They’re the kind of dish that makes people feel cared for, like you went the extra mile just for them. Plus, they’re versatile—serve them as an appetizer, a side for burgers, or even a late-night snack.
The first time I made these, I was nervous. Would the cheese stay in? Would they be too hard to make? But when my husband’s poker buddies couldn’t stop raving, I knew I’d stumbled onto something special. Now, these rings are my go-to for any gathering. They’re not just food—they’re a memory-maker.
Creative Twists to Try
Once you’ve mastered the classic version, have fun experimenting with these variations:
🌶️ Spicy Kick
Swap mozzarella for pepper jack cheese to add a fiery edge. You can also mix cayenne pepper into the flour for an extra zing.
🧀 Flavor Boost
Try sharp cheddar for a bolder taste or provolone for a smoky note. Mix dried herbs like oregano or thyme into the flour for an aromatic touch.
🥕 Veggie Swap
For a twist, use thick bell pepper rings instead of onions. They’re just as sturdy and add a sweet, colorful vibe.
🥄 Creamy Filling
Blend cream cheese with chopped chives or jalapeños and pipe it into the gap for a rich, decadent filling.
These variations keep the recipe fresh and let you tailor it to your crowd’s tastes.
Serving Suggestions to Wow Your Guests
These onion rings shine on their own, but the right dipping sauce and pairings take them to the next level. Here are some ideas:
🍅 Marinara Magic
A warm, tangy marinara sauce is the classic choice. The acidity balances the richness of the cheese and fried coating.
🥛 Creamy Ranch
Ranch dressing adds a cool, herby contrast that’s always a crowd-pleaser. Try a spicy ranch for extra flair.
🍔 Burger Buddy
Serve these alongside juicy burgers for a diner-inspired meal that feels indulgent but approachable.
🏈 Game Day Glory
Pair them with sliders, wings, and a cold drink for the ultimate game day spread. They’ll disappear faster than you can say “touchdown.”
No matter how you serve them, these rings are guaranteed to steal the spotlight.
Storing and Reheating (But Fresh Is Best)
Let’s be honest—these onion rings are at their peak when they’re fresh from the fryer, with gooey cheese and a crispy coating. If you have leftovers (unlikely!), store them in an airtight container in the fridge for up to two days. Reheat in a 400°F oven for 8-10 minutes to revive some of the crunch, but know they won’t be quite as perfect as fresh. Microwaving is a no-go—it’ll make the coating soggy and the cheese rubbery. For the best experience, make just enough to enjoy right away.
Frequently Asked Questions
How do I keep the cheese from leaking out?
Secure the cheese tightly with toothpicks and don’t overfill the gap. The flour, batter, and panko layers also help seal everything in.
Can I bake these instead of frying?
Yes, bake at 400°F for 15-20 minutes, flipping halfway. They won’t be as crispy, but they’re still delicious.
What’s the best oil for frying?
Neutral oils like vegetable or canola work best. They have a high smoke point and don’t overpower the flavor.
Can I use other cheeses?
Absolutely! Cheddar, pepper jack, or provolone are great melting options. Just cut them to fit the onion rings.
How do I know when they’re done?
Look for a golden-brown coating and crispy texture. The cheese should be melted but still contained inside.
Kitchen Tools You’ll Need
To make these onion rings, gather these essentials:
- Deep pot for frying
- Wire rack for draining
- Mixing bowls for coatings
- Toothpicks for securing
- Slotted spoon or tongs for frying
These tools make the process smooth and stress-free.
Nutrition at a Glance
These onion rings are an indulgent treat, perfect for special occasions. Per serving (2 rings): approximately 300 calories, 18g fat, 25g carbs, 10g protein. Exact values vary based on oil absorption and portion size. Enjoy them as part of a balanced spread, and savor every cheesy bite.
Why This Recipe Will Keep You Coming Back
These Cheesy Onion Rings are more than a recipe—they’re a way to bring people together. The crunch of the coating, the sweetness of the onion, and the surprise of melty cheese create a sensory experience that’s hard to resist. They’re the kind of dish that makes you feel like a culinary rockstar, even if you’re just following simple steps. Whether you’re cooking for a crowd or treating yourself, these rings deliver joy in every bite.
So, grab your ingredients, heat up that oil, and get ready to make something unforgettable. Your guests will be talking about these onion rings long after the last one is gone. Happy frying!
Prep Time: 15 minutes | Cook Time: 7 minutes | Total Time: 22 minutes | Yield: 4 servings (8 stuffed onion rings) | Category: Appetizer | Cuisine: American | Difficulty: Intermediate | Dietary: Vegetarian


